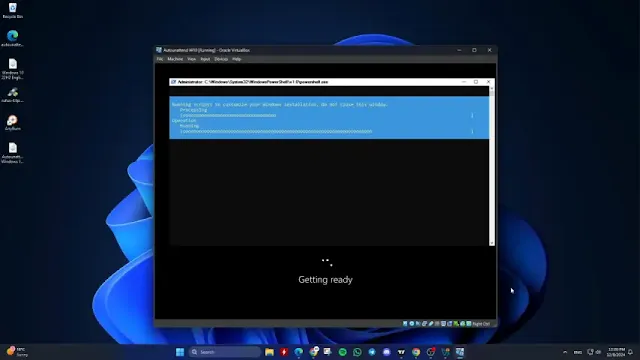
Need a fast, hands-off way to deploy Windows 10 across multiple devices? This guide walks you through performing an unattended installation using an autounattend.xml file for consistent and efficient system setups.
Step 1: Prepare the Installation Media
- Use a USB flash drive with at least 8 GB of storage.
- Download the official Windows 10 ISO from Microsoft.
- Get the latest version of Rufus from its official website.
- Create a bootable USB using Rufus, ensuring you leave all customization options unchecked in the “Windows user experience” section.
Step 2: Add the autounattend.xml File
Option A: USB Method
Copy your autounattend.xml file directly to the root directory of the bootable USB drive.
Option B: ISO Method (for Ventoy or Virtual Machines)
- Download and install AnyBurn.
- Launch AnyBurn and select Edit image file.
- Load your Windows 10 ISO and click Next.
- Click Add, then select or drag in your autounattend.xml file.
- Rename the output ISO (e.g., windows_autounattend.iso), click Create Now, and wait for the process to finish.
- You can now use the new ISO with Ventoy or mount it in a virtual machine.
Step 3: Run the Unattended Installation
- Boot your target machine from the prepared USB or virtual ISO.
- Windows Setup will detect the autounattend.xml automatically.
- Installation will proceed without manual intervention, using your predefined settings.
- If your XML specifies manual disk partitioning, you'll see a prompt for setup.
Once finished, your machine will restart into a fully installed copy of Windows 10 — configured to your exact specifications.
Final Tip: Test your autounattend.xml and ISO on a single system or VM before deploying broadly. It’s the smartest way to ensure everything works exactly as planned.
With automation in place, your Windows 10 deployments just got smarter, cleaner, and way more efficient. For help creating your answer file, check out our article linked below.
How To Generate Answer Files / Autounattend.xml Files for Windows 10

