
Looking to streamline Windows 11 setup across multiple machines? Here's how to automate installation using an autounattend.xml file — no clicks required.
Step 1: Prepare Your Installation Media
- Use a USB flash drive with at least 8 GB of storage.
- Download the official Windows 11 ISO from Microsoft.
- Download and install Rufus from its official site.
- Use Rufus to create a bootable USB drive — but don’t select any customization options under the “Windows user experience” window; leave them all unchecked.
Step 2: Add the autounattend.xml File
You have two choices for placing your autounattend.xml file:
Option A: USB Method
Copy the autounattend.xml file directly to the root directory of your bootable USB drive.
Option B: ISO Method
Use a tool like AnyBurn to embed the file into the ISO:
- Install AnyBurn and open it.
- Choose Edit image file and select the Windows ISO.
- Click Next, then add (or drag-and-drop) your autounattend.xml file.
- Rename the modified ISO (e.g., windows_autounattend.iso), click Create Now, and wait for completion.
- Use the new ISO with tools like Ventoy or for virtual machine setups.
Step 3: Run the Installation
- Insert your bootable media into the target machine and boot from it.
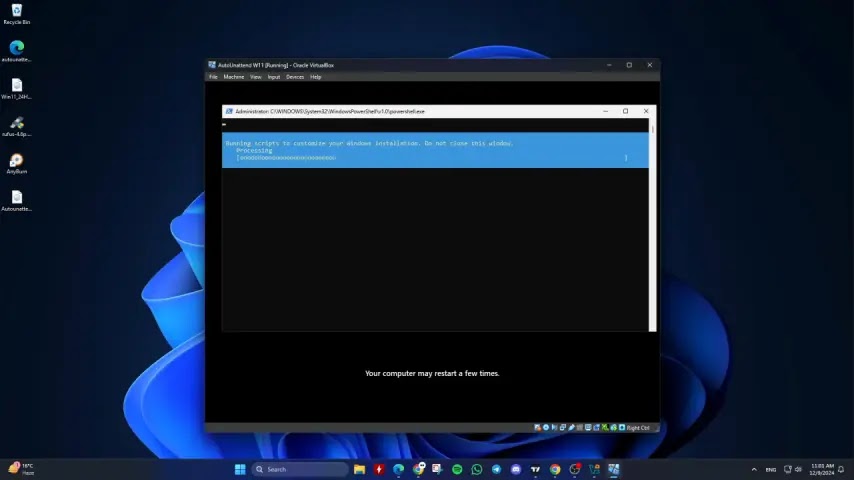
- Windows Setup will automatically detect the autounattend.xml file.
- The installation will proceed without interaction, applying the predefined settings.
- If you've opted for manual disk partitioning, you'll be prompted during setup.
Once complete, Windows 11 will be installed using your custom configuration — speeding up deployment and standardizing installations.
Note: Always test your ISO and answer file on a virtual machine before mass deployment to ensure it behaves as expected.
Save time and reduce errors with automated installs — your future self will thank you. For help generating the autounattend.xml file, check out our article linked below.
How To Generate Answer Files / Autounattend.xml Files for Windows 11